
The LDG AT-7000 automatic tuner is very popular among Icom HF radio owners, especially those with IC-7000 and IC-706 radios. It’s small, simple, and works really well. The problem is, it’s so simple that it has no controls of its own. Since it depends on the radio to tell it when to tune or go into bypass, you can’t use it with any radio that doesn’t support an AH-4 tuner. I have mostly Icom radios, so this is not a problem, but occasionally I want to be able to use the thing with another brand, which isn’t possible. Or is it?
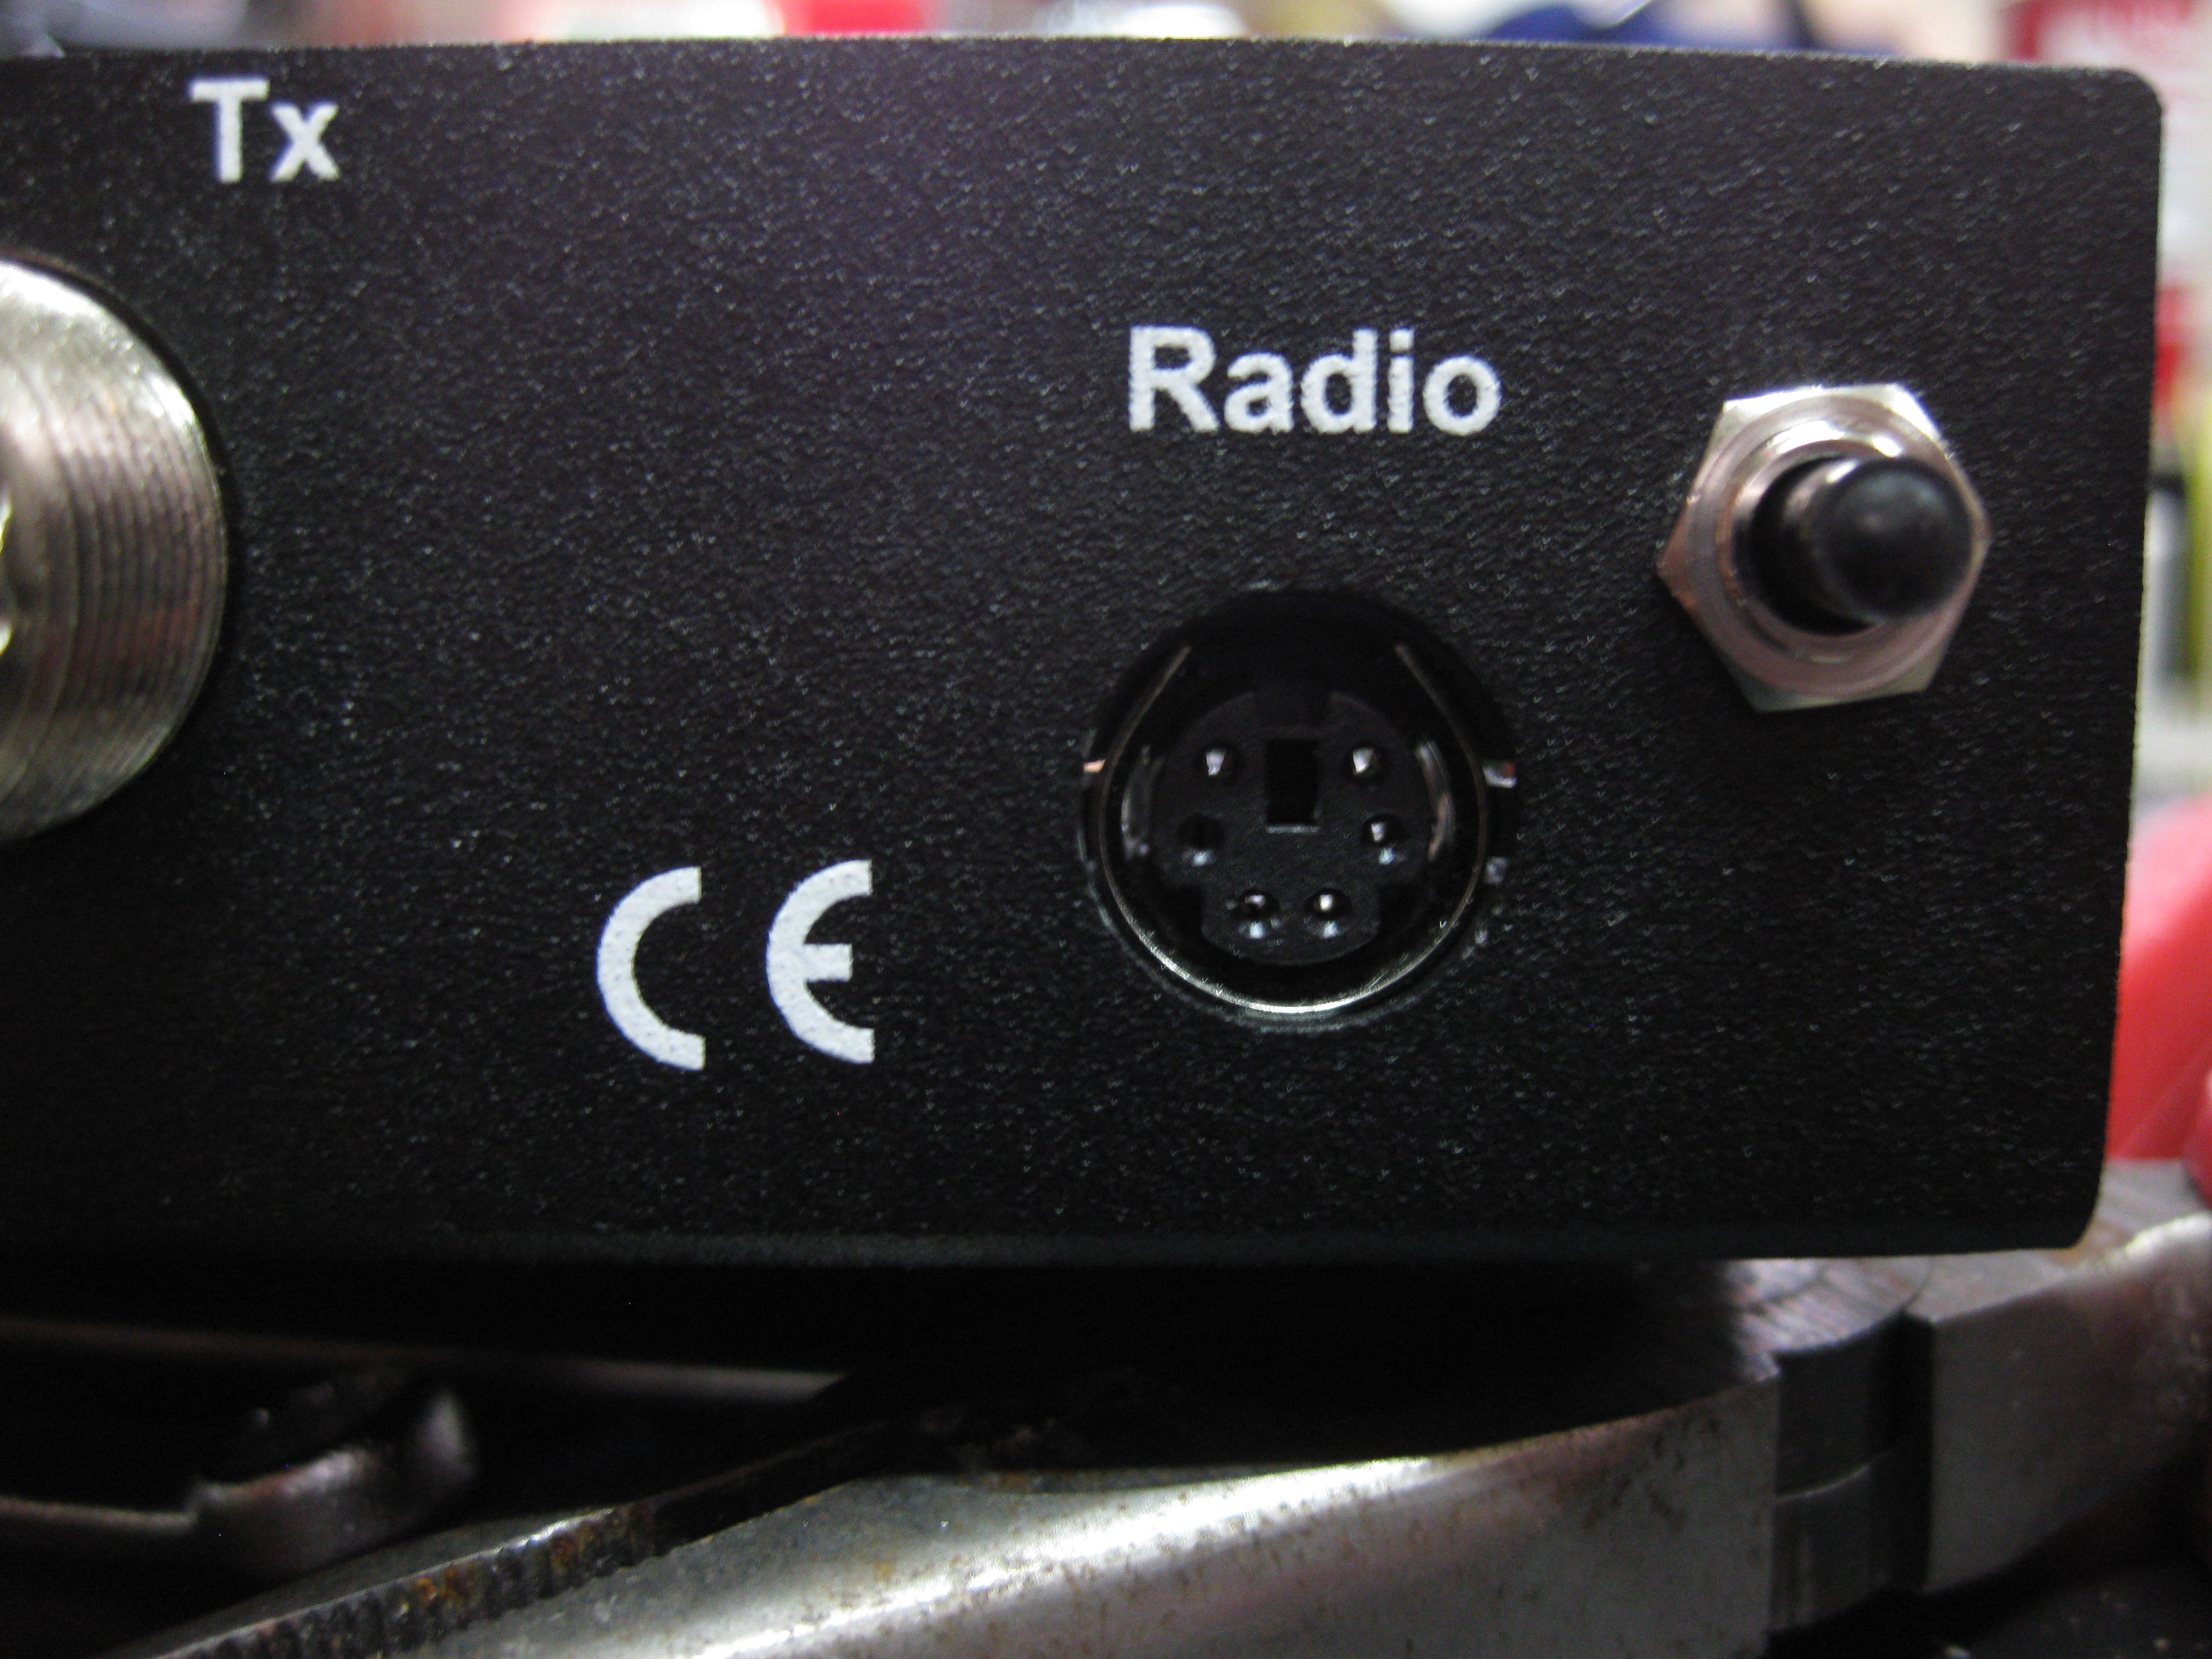
The AH-4 tuning control signals from the radio are super simple, which means it’s pretty easy to put a manual tuning button on the device. If you provide it power somehow, it suddenly becomes a versatile works-with-anything tuner. Here is my finished product:
I started at Surplus Gizmos to find a momentary button. I wanted something that would be small and unobtrusive, as well as look like it belonged there in the first place. As usual, they had the perfect thing. It’s a small momentary pushbutton that uses just a thin black plunger, requiring only a small hole to be drilled in the case.
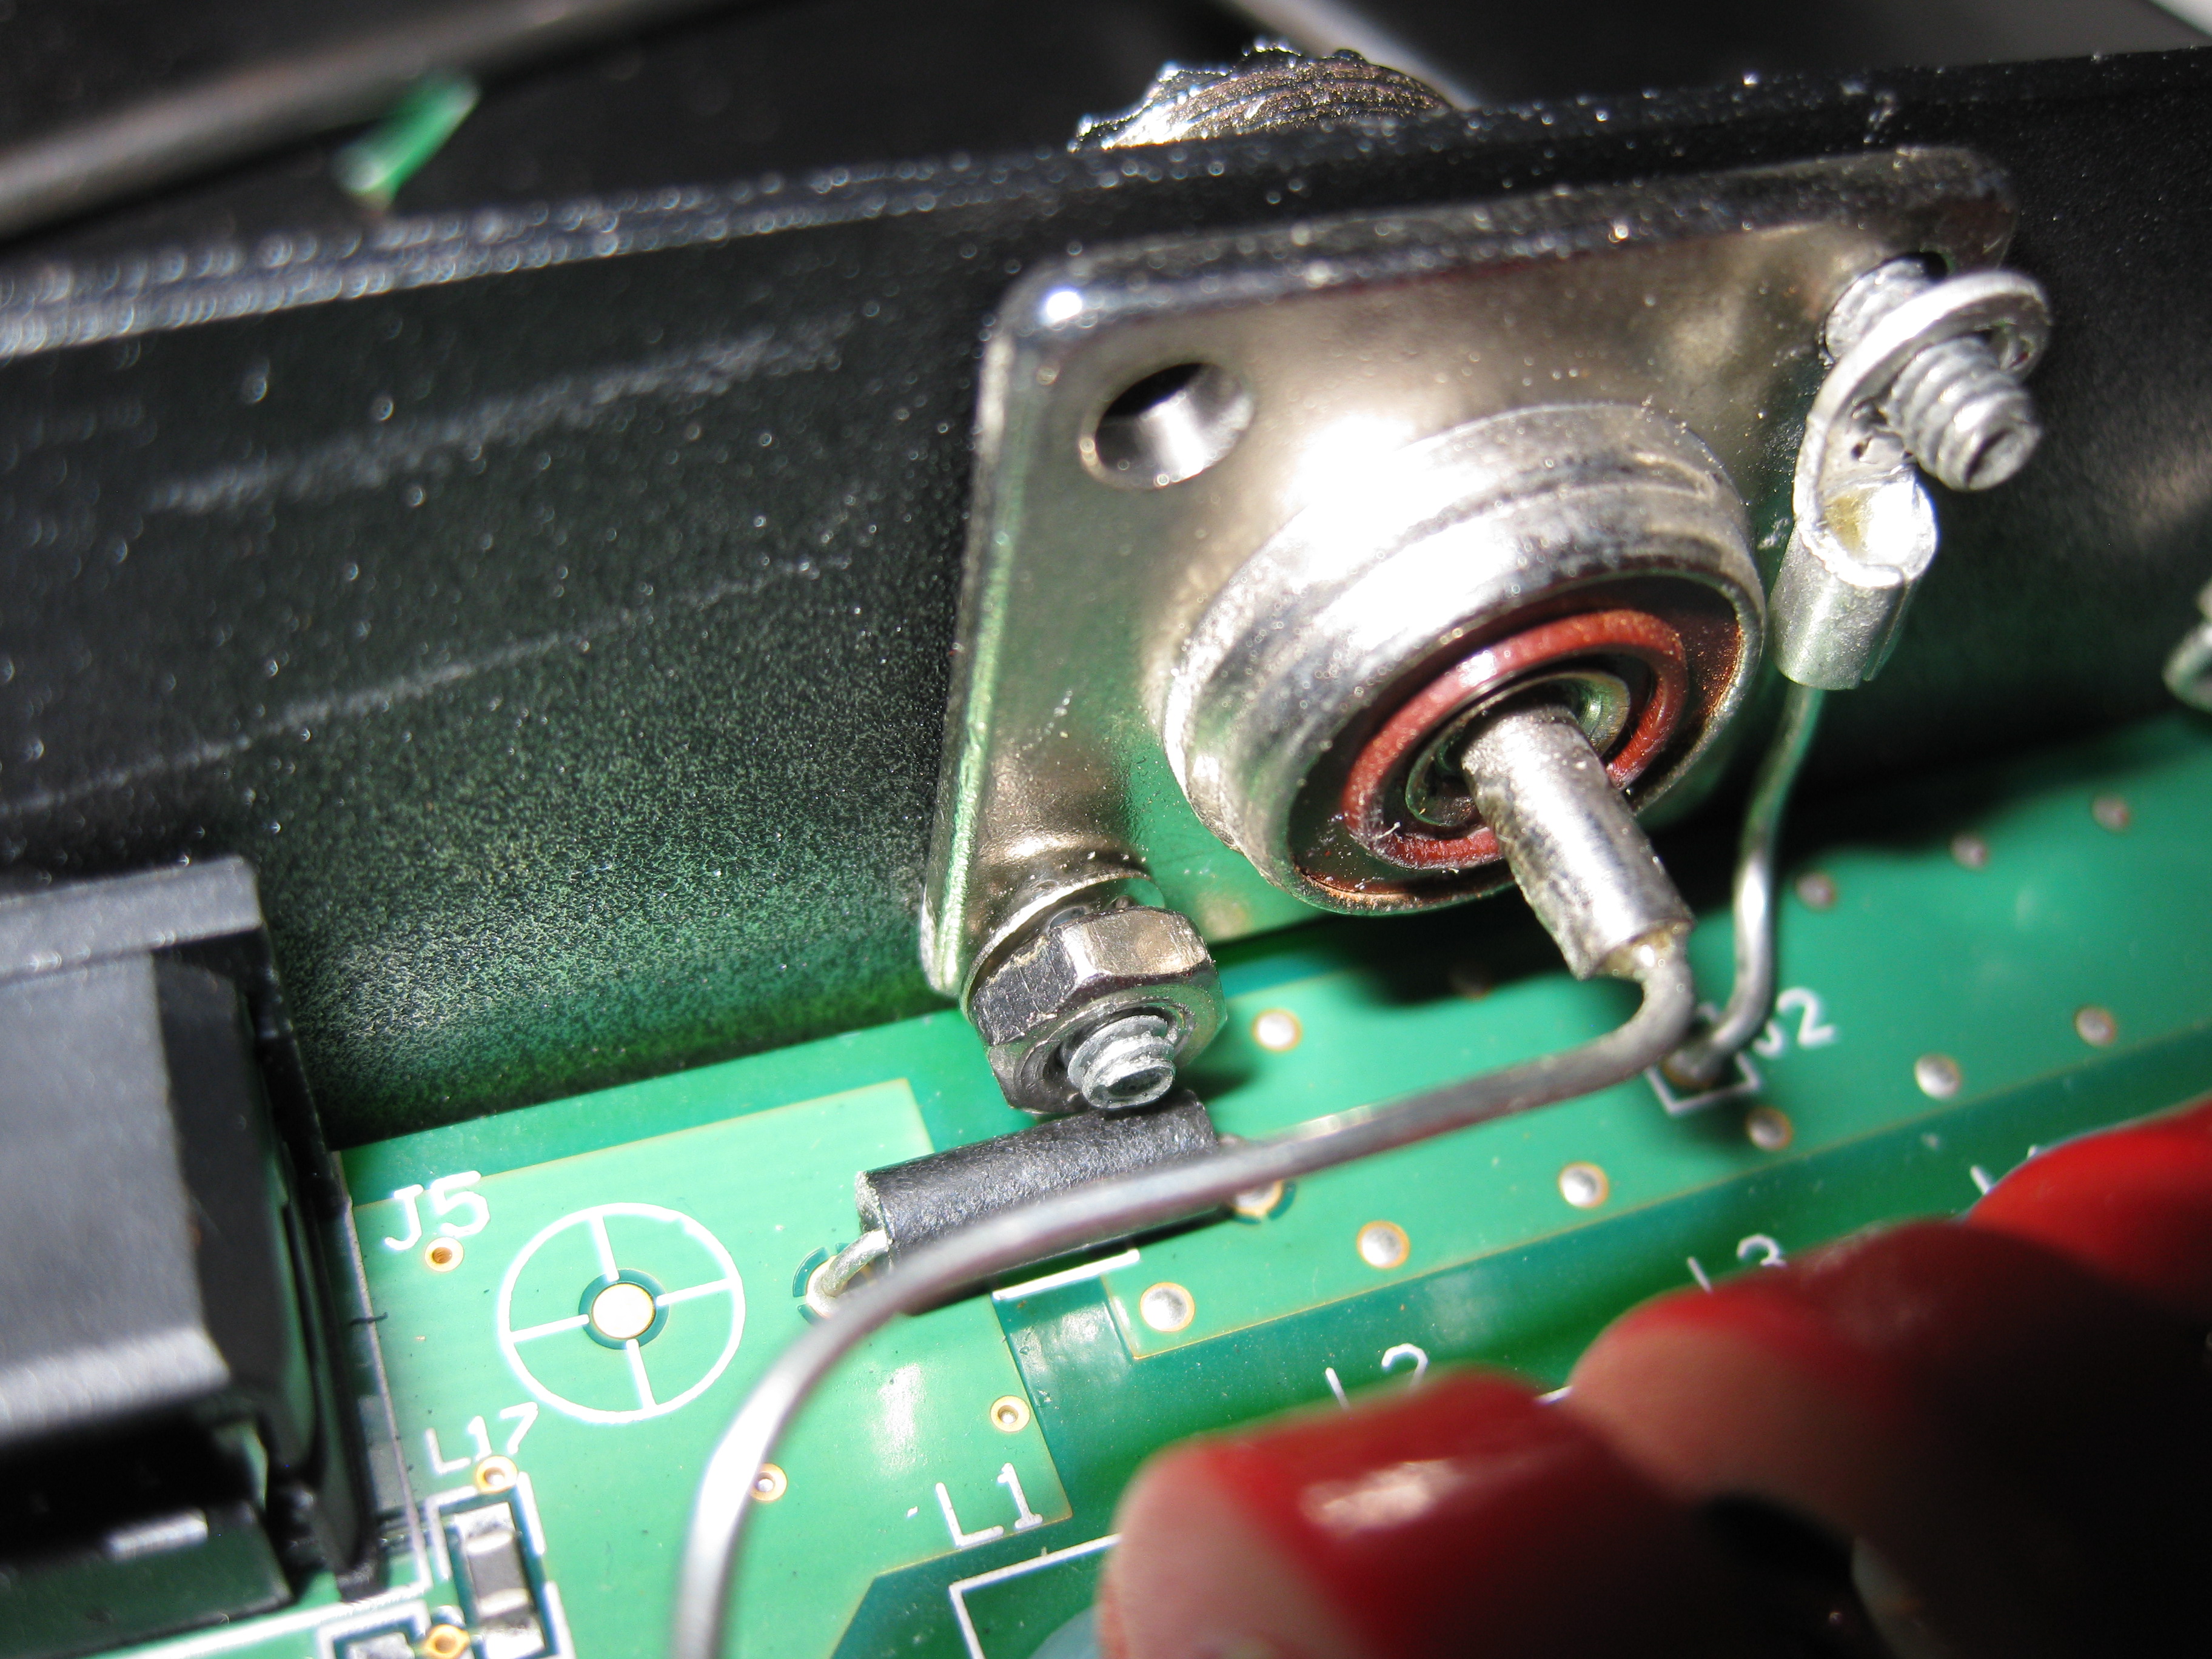
Disassembly of the AT-7000 starts easily, but quickly becomes a chore with lots of little nuts holding connectors to the chassis. Every single one has a star washer, so be sure not to lose any of these as they’re important for good bonds between the connectors and the chassis. Specifically, this last one on the SO-239 for the radio hits a diode before coming all the way off:
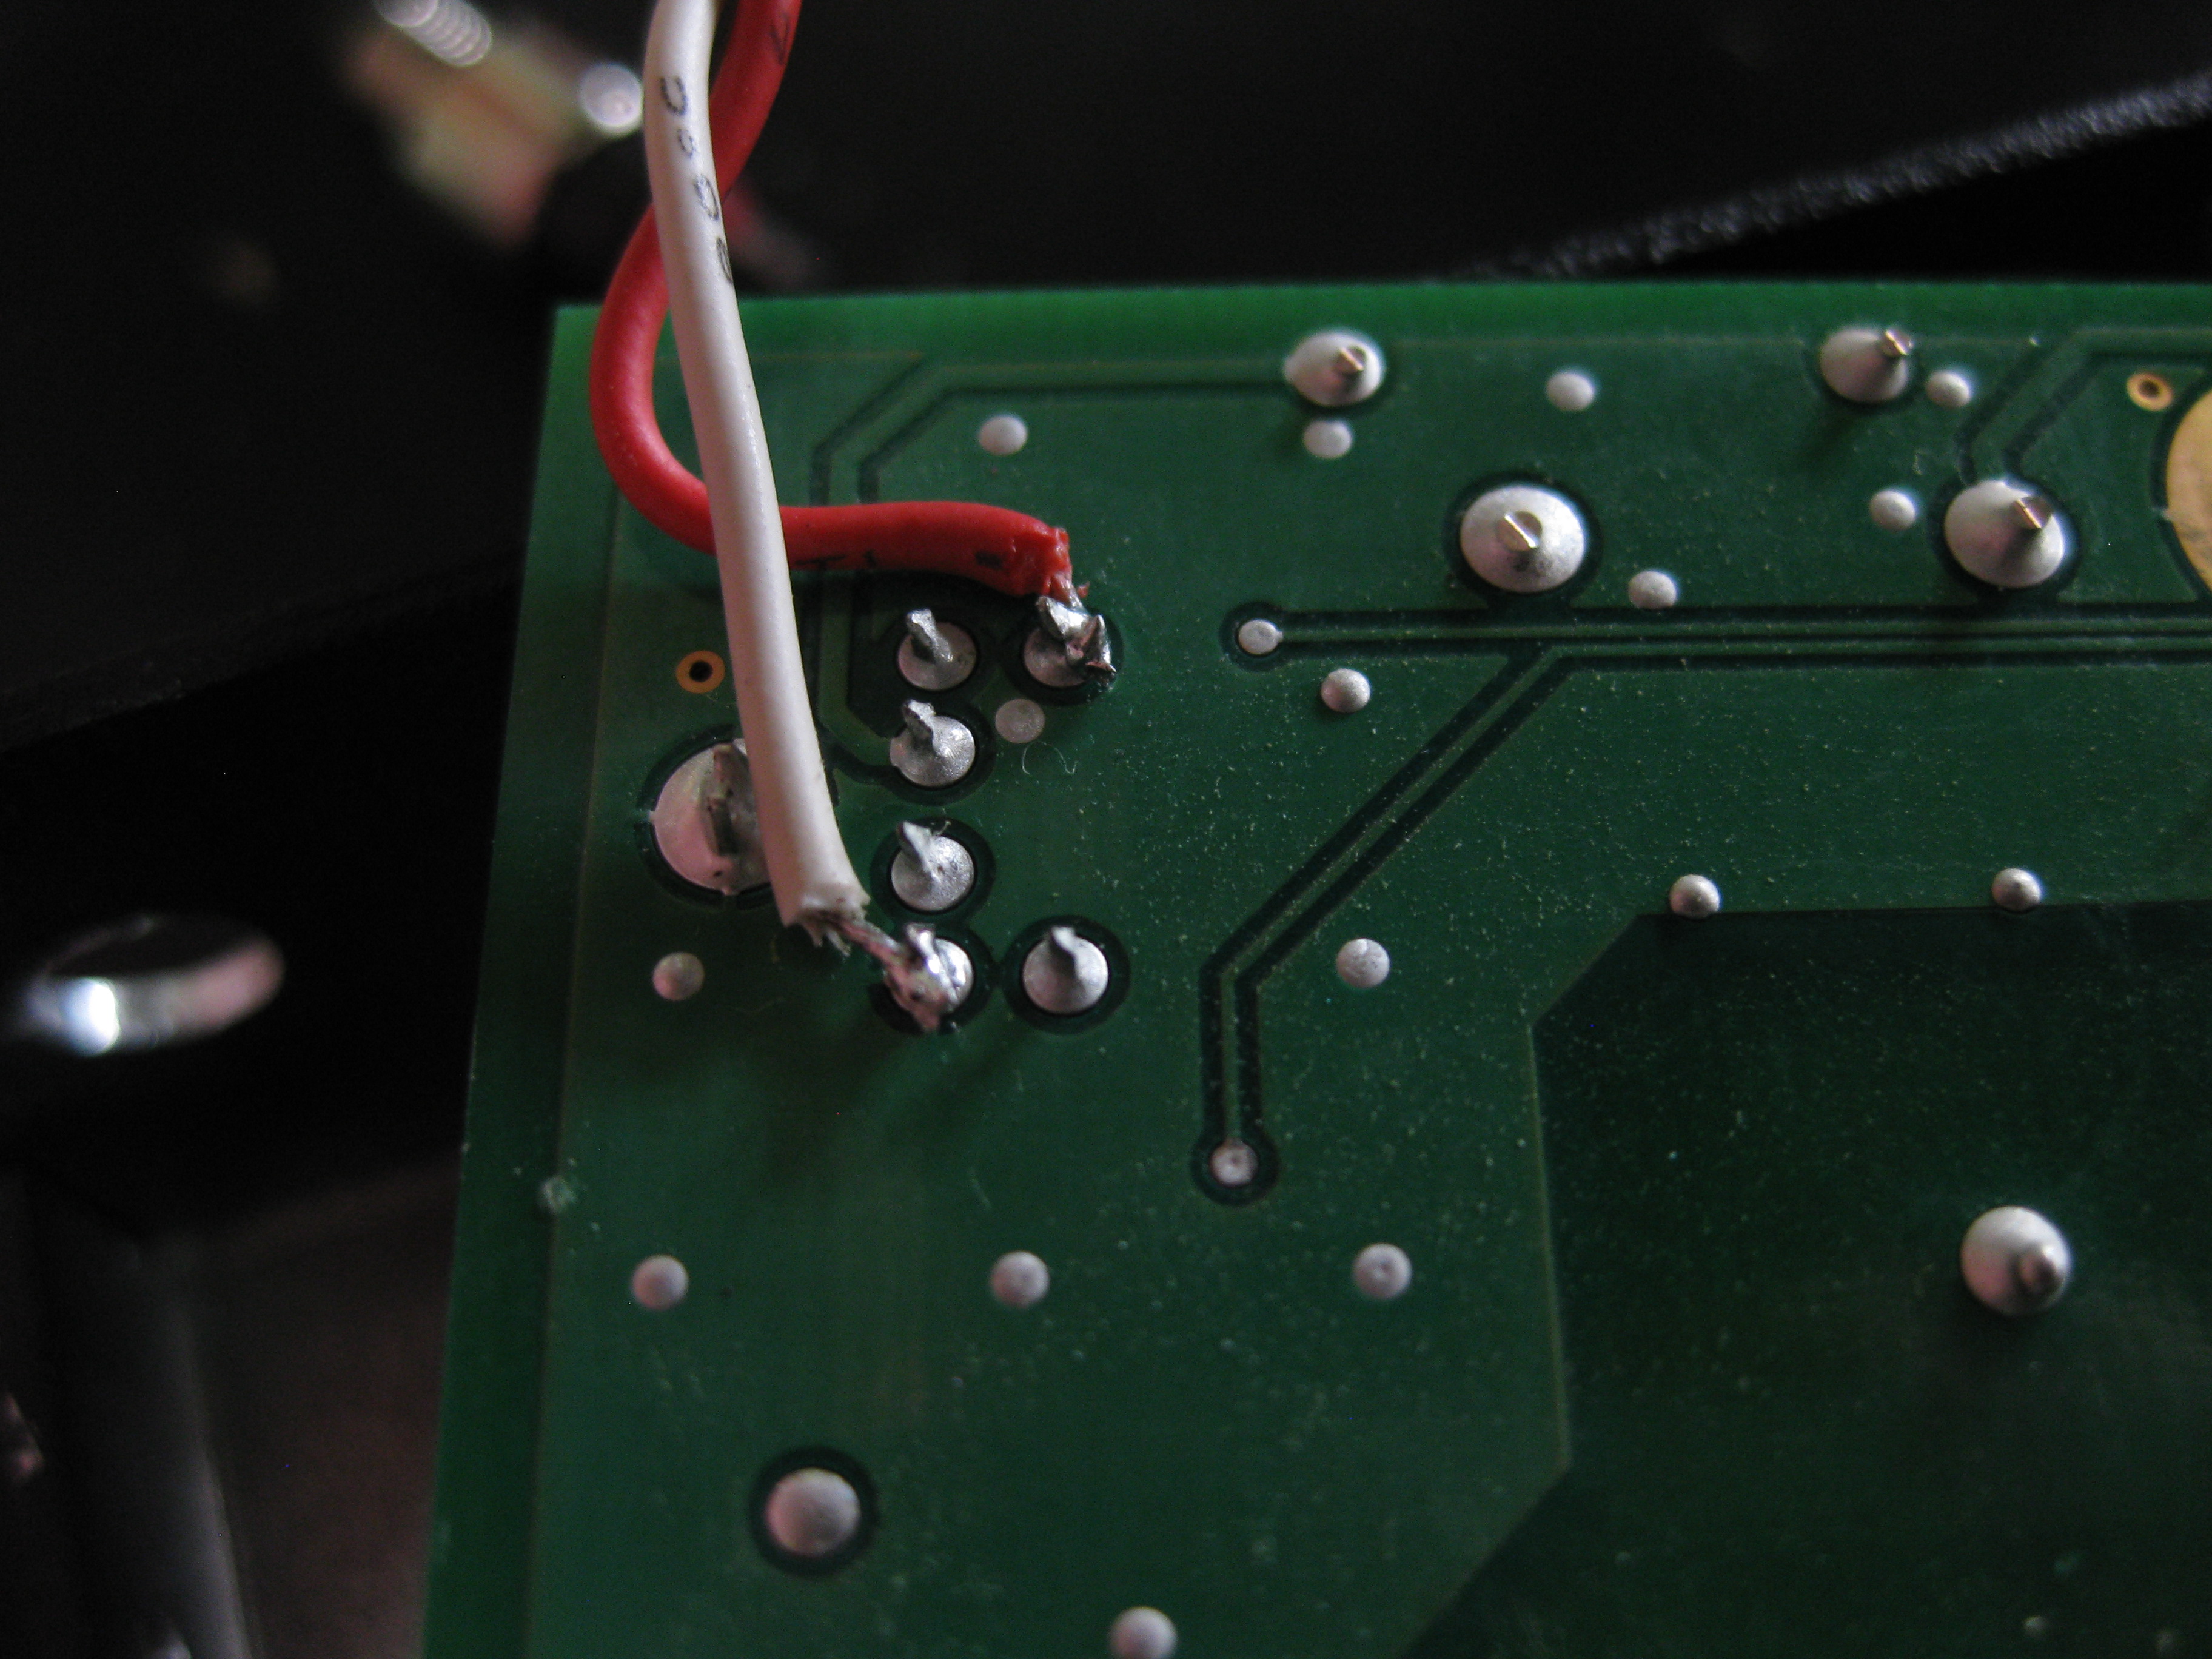
To get it out, slide the board partially out of the chassis, which moves the diode just enough to pull the nut off and free it from the case. On the other side, the connections to the mini-din are accessible. The tune button needs to connect the “start” button to ground in order to control the thing, so jumper on the back of these pins:
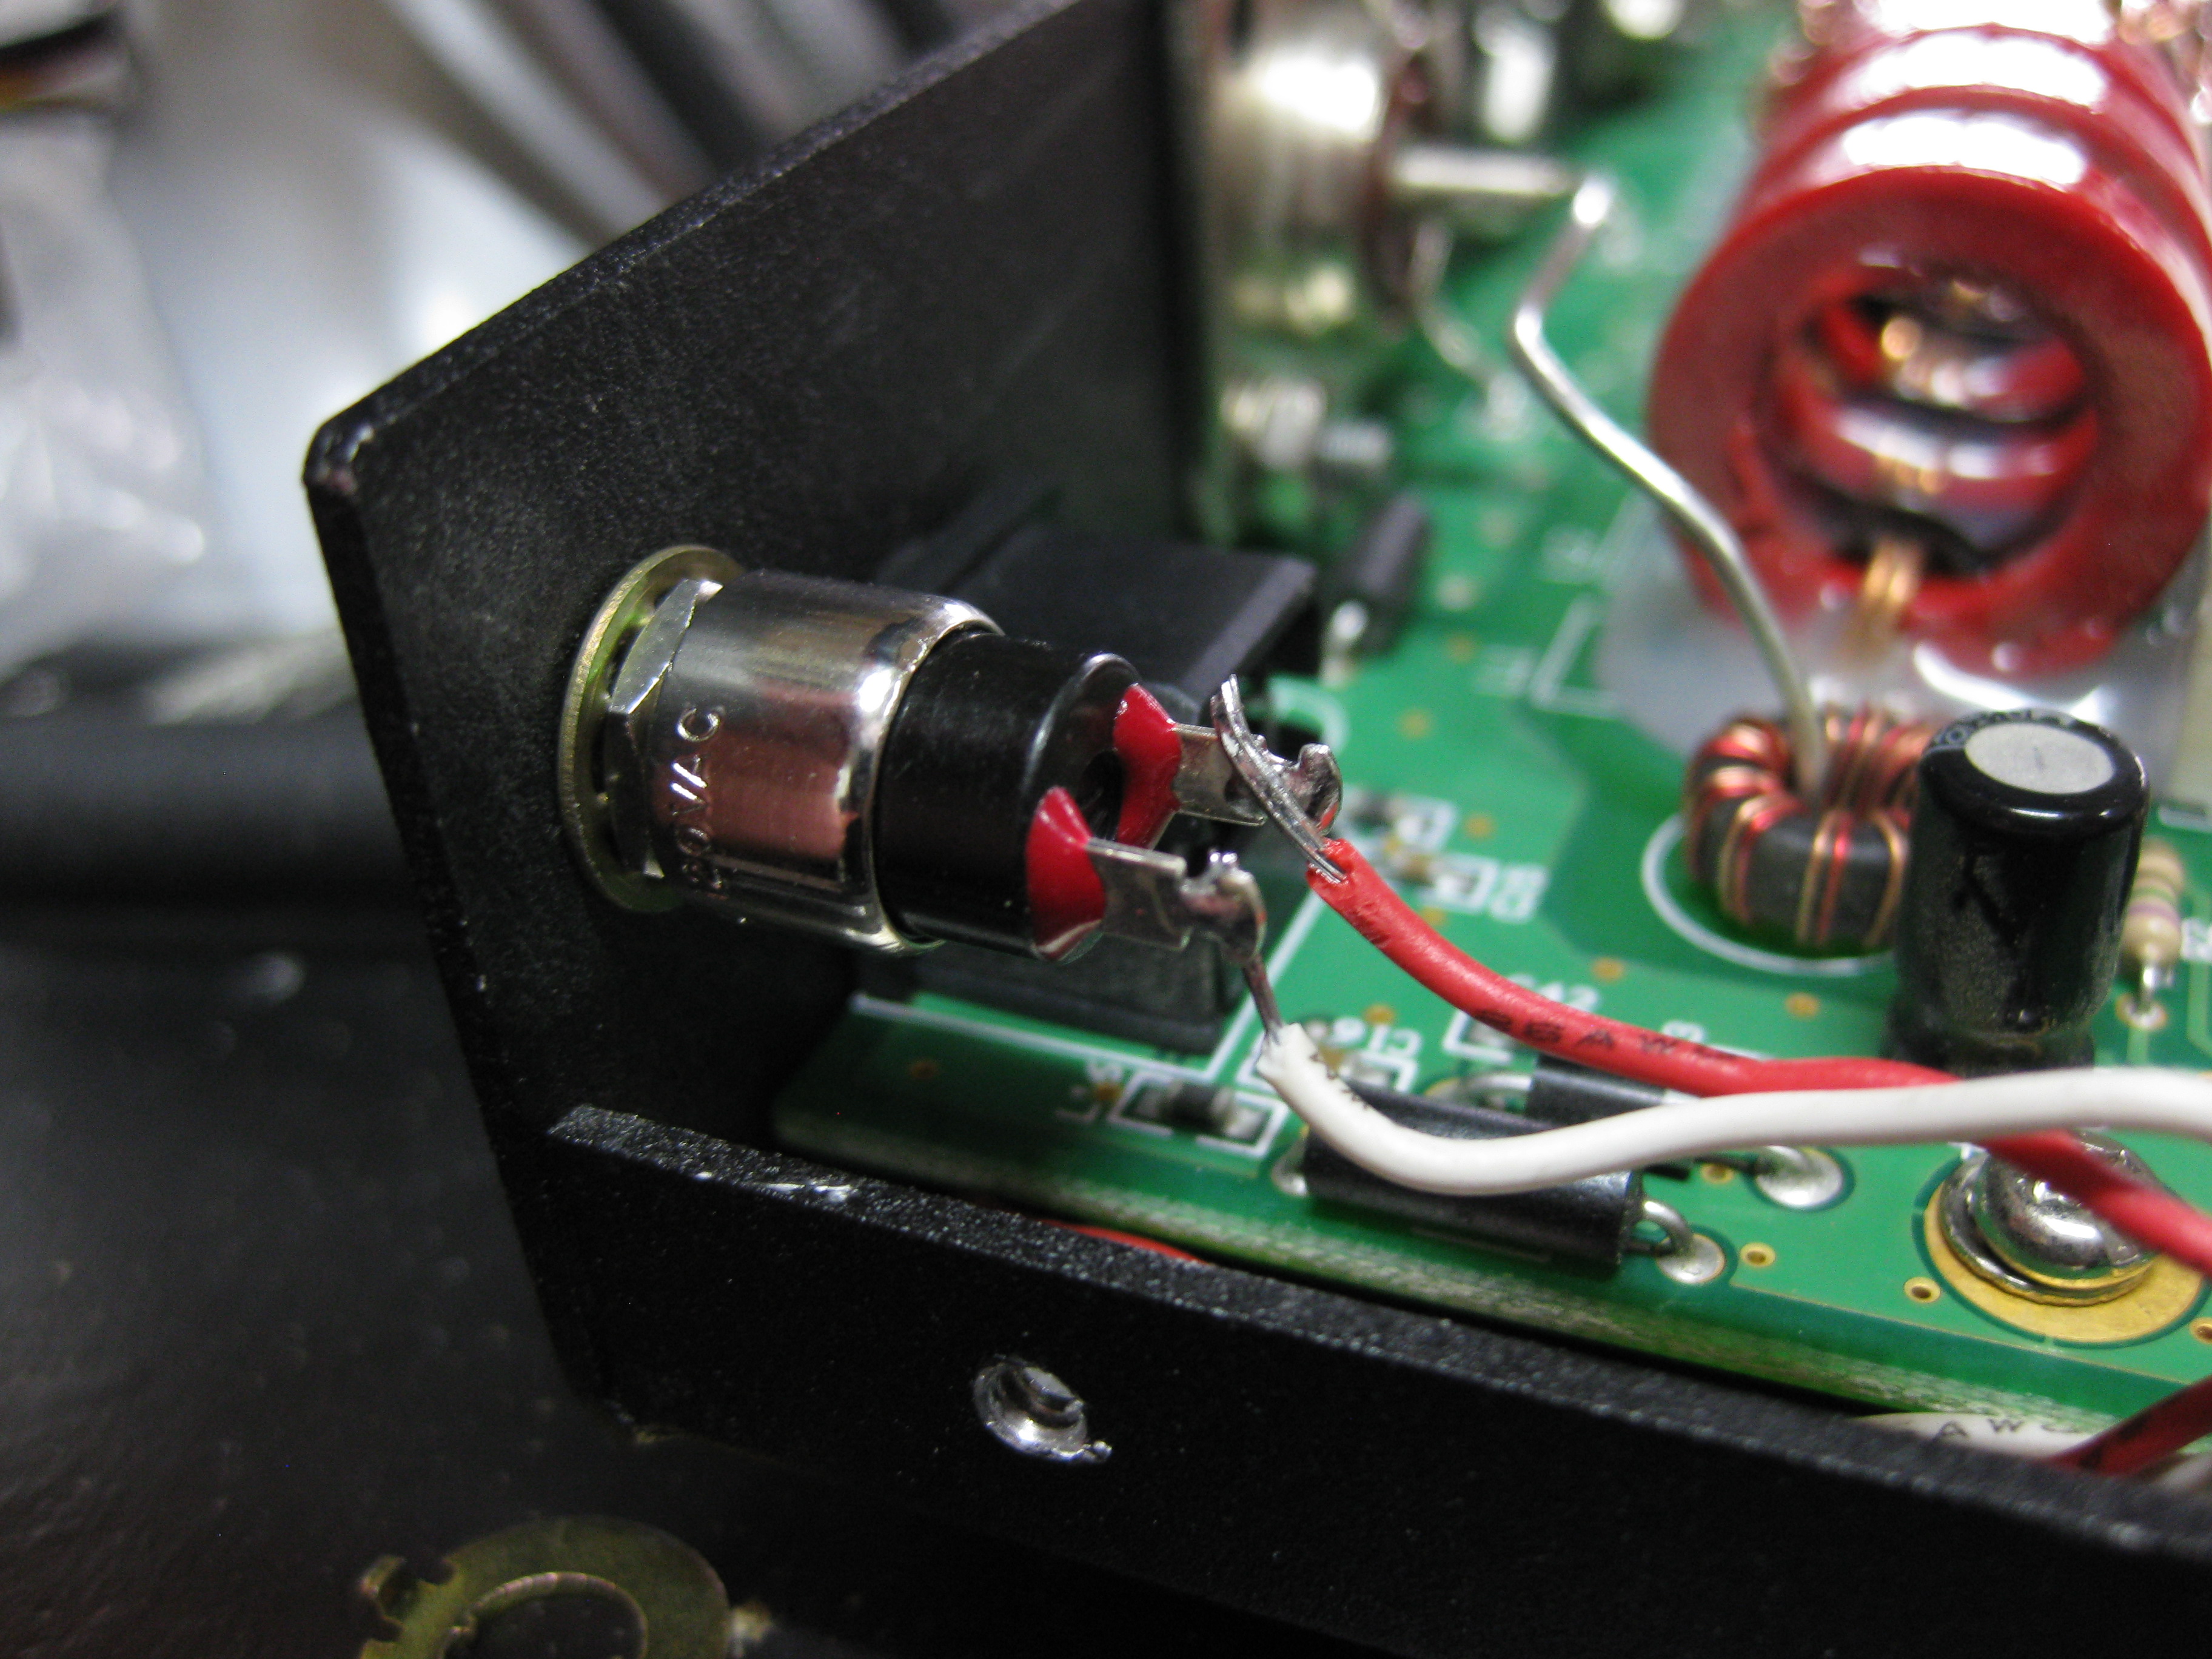
While the board is out, the hole for the button should be drilled to avoid getting filings everywhere. Once that is done the board can go back in the chassis and all the tiny fittings can be re-mounted. I found plenty of space to mount my button securely in the back left corner above the radio control connector, which keeps the jumpers short:
At this point, the cover can go back on the case. The only remaining thing that needs to be done is to build a cable for the tuner so that you can power it without plugging it into an Icom radio. The connector is the same as a PS/2 connector, so cutting one off of an old device is the easiest way. By the pinout in the manual, pins 1 and 4 are +12V and Ground respectively.
Controlling the tuner is basically the same as it is when connected to an Icom radio, except that the radio doesn’t automatically transmit for you during the process. Pressing the button in various patterns controls the mode:
- Less than 500ms: Bypass mode
- Between 500ms and 2500ms: Memory tune
- More than 2500ms: Full tune
You have to get the radio to transmit a carrier at a few watts in order for the tuner to have a signal to work with, so put your radio in CW, RTTY, FM, or AM mode and hold down PTT while triggering the appropriate mode. Keep the carrier until the tuning has finished.
The added benefit of this tune button is that you can now reset the tuner’s memory without taking the case off. Holding down the button for a few seconds while powering up the tuner will erase all the stored tune memories.
4 Responses to A Manual Tune Button for the LDG AT-7000